
Tips for getting razor-sharp photos from your camera.
All photographers like to take ultra-sharp photos every shot. It’s very frustrating when you take a photo and images come out blurry or soft, due to the camera shake.
A very common cause of this is when the photographer has great enthusiasm and presses the shutter button forcefully. Another common cause of camera blur is when the photographer doesn’t choose a fast enough shutter speed or using the camera handheld without a tripod.
Share your razor-sharp photos with us and join our photography community: click here.
📷 It’s all about you and your photography 📷
This article is split into two sections:
Part one: Getting it right in-camera with hand-held shots.
Part two: Getting it right in-camera using a tripod.

How to properly take razor-sharp photos in camera (hand-held):
- Keep your camera stable, by using both hands.
- Place your left hand under the lens.
- Place your right hand on the camera body.
- Press the viewfinder firmly against your face. Try to have at least three points of contact between your body and your camera at all times.
- Brace your elbows tightly against your ribs when you’re standing.
- Brace yourself against a stable object. Lean against a wall, tree or a rock to steady yourself. Holding your camera directly against a wall or other object also improves stability even further.
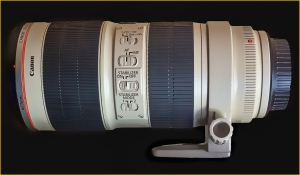
- Use lenses with image stabilization (IS), vibration reduction (VR), or cameras with shake reduction (SR). Find out if your camera or lens has an image stabilization feature and switch it on. It might come in alternative names such as vibration reduction SR or optical image stabilisation OIS.
- Always press the shutter button half-way first, then gently press the button down. Try taking a deep breath, exhaling about halfway, then pressing the shutter button.
How to properly take razor-sharp photos in camera (using tripod):
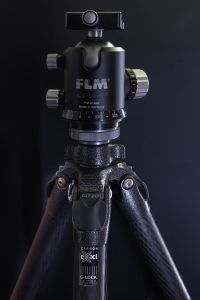
Naturally, there’s no doubt that a good tripod is worth using, especially with landscape photography. A tripod provides a stable platform that holds the camera rigid — dramatically increasing the sharpness of the image.
- Switch-off image stabilization while using a tripod.
When the camera is mounted to a sturdy tripod as there should be no movement. In these situations, the image stabilization can actually do more harm than good.
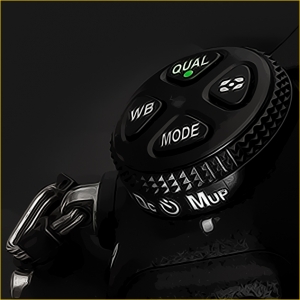
- Use a ball head.
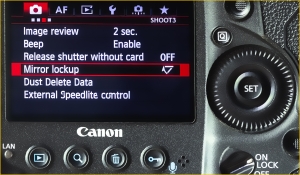
- Use the mirror lock-up feature on your camera.
Mirror lockup can help to improve sharpness by reducing any shock or vibration created by the function of the mirror when taking a photo.
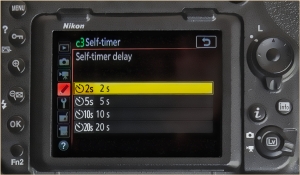
- Use the 2-second timer or a remote shutter release.
Even the smallest movements such as clicking your camera’s shutter button can cause blurry photos. Use a timer or remote shutter release while your camera is mounted on a tripod
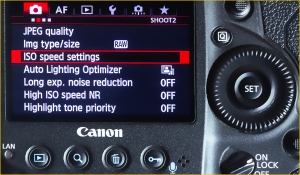
- Shoot at the lowest possible ISO.
Start with setting your camera to the lowest ISO “base” value. Remember that the camera base ISO will produce the highest quality images with maximum sharpness. The higher the ISO (sensor sensitivity), the more noise you will see in the image.

- Finally, take your gear with you and take the shot because practice makes perfect.
Follow our journeys on Instagram and let us inspire you @WeAreRawPhotography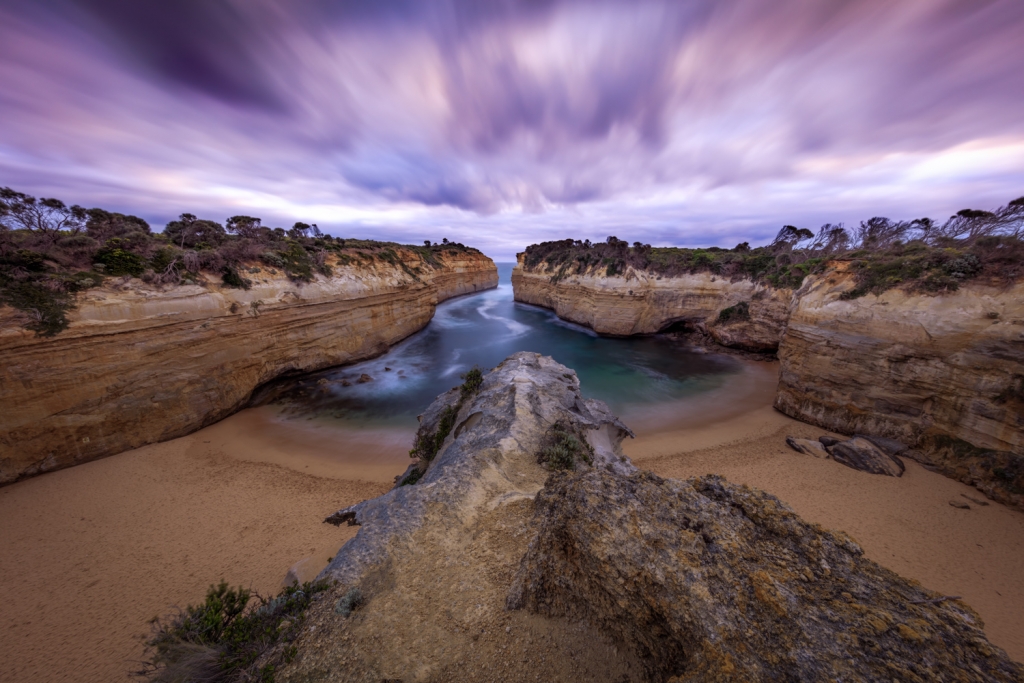
Share your story behind the lens with us and join our photography community: click here.
More Photography Tips!
For more helpful photography tips, be sure to check out our photographers guest article photography series:
Looking for “Tips for Astrophotography” part 1 coming up in the next couple weeks!
George Triantafillou is a landscape and fine art photographer based in Melbourne, Australia. All images can be purchased in the Fine Art Store. George leads landscape photography tours and workshops in Tasmania, New Zealand, Great Ocean Road, Mount Buffalo, Wilsons Promontory, offers private tours and mentoring and teaches online landscape photography post-processing workshops.


Comments
Edith